
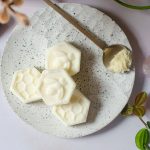
Welcome back, my friend! Today. I’m super excited to share something I’ve been working on for months. It’s my breast milk lotion with calendula and orange! Jump straight to recipe.
I know how much you mamas love to make things with your milk. A popular post on my blog explains how to make a breast milk bath – an easy way to enjoy the skincare benefits of breast milk without too much effort.
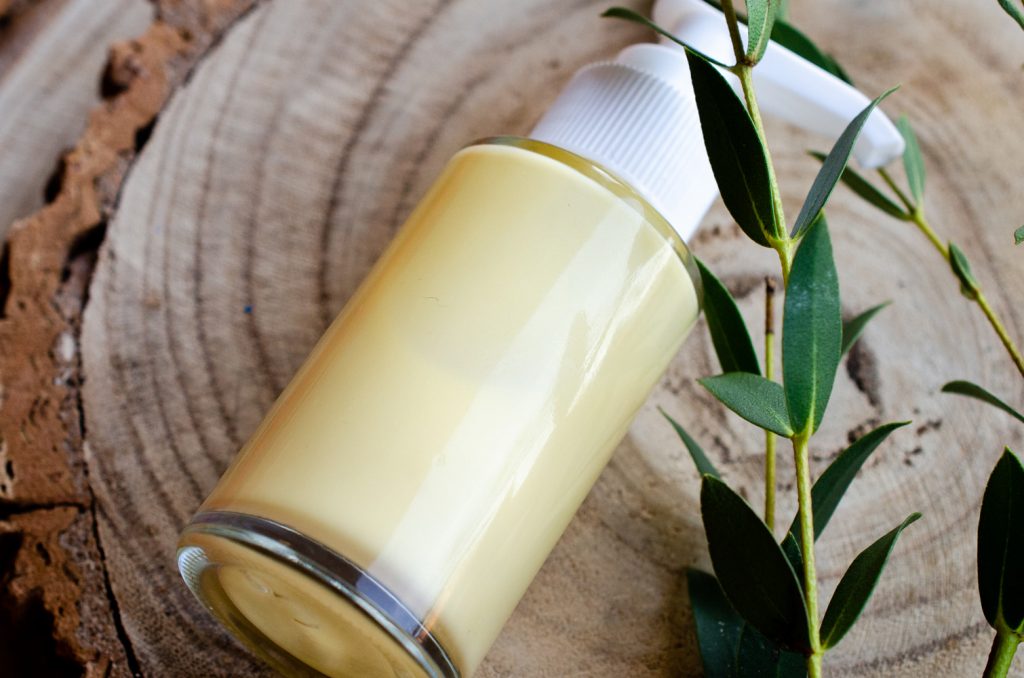
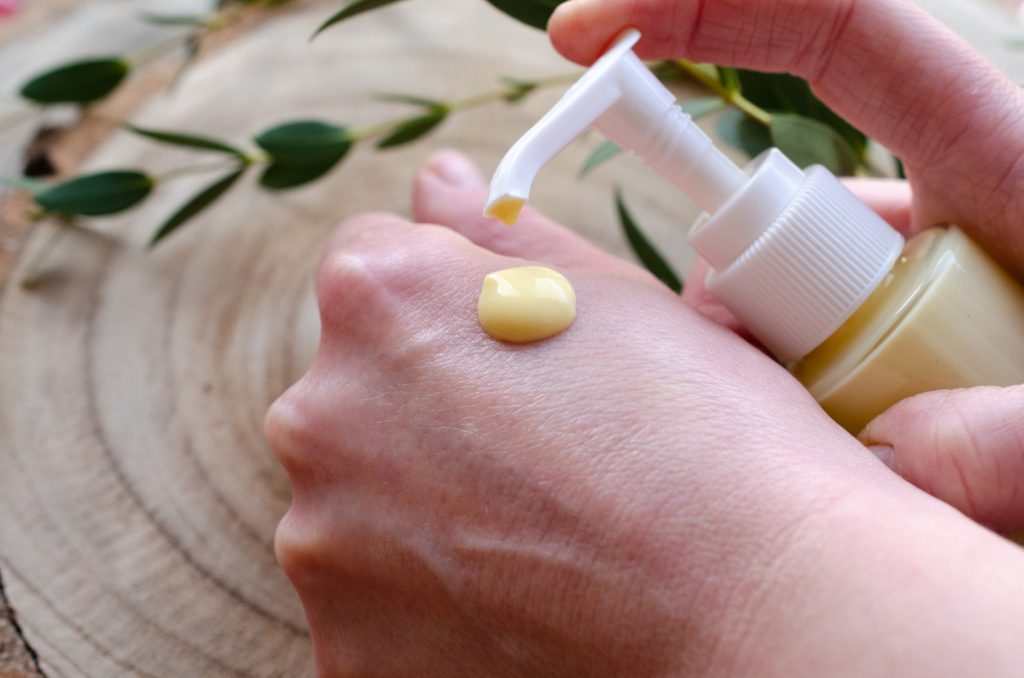
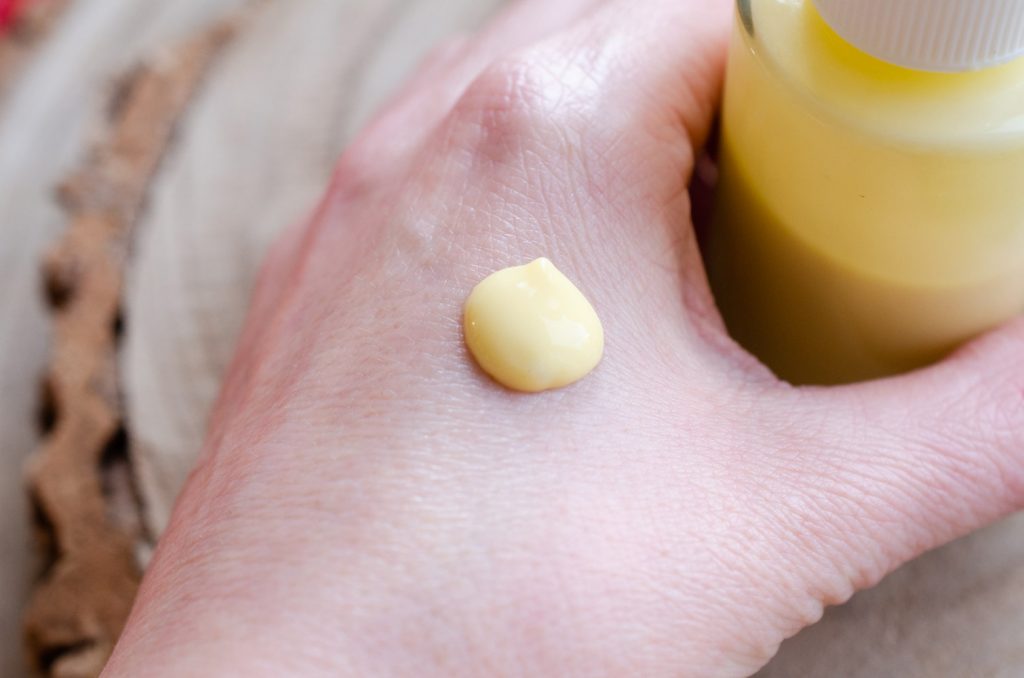
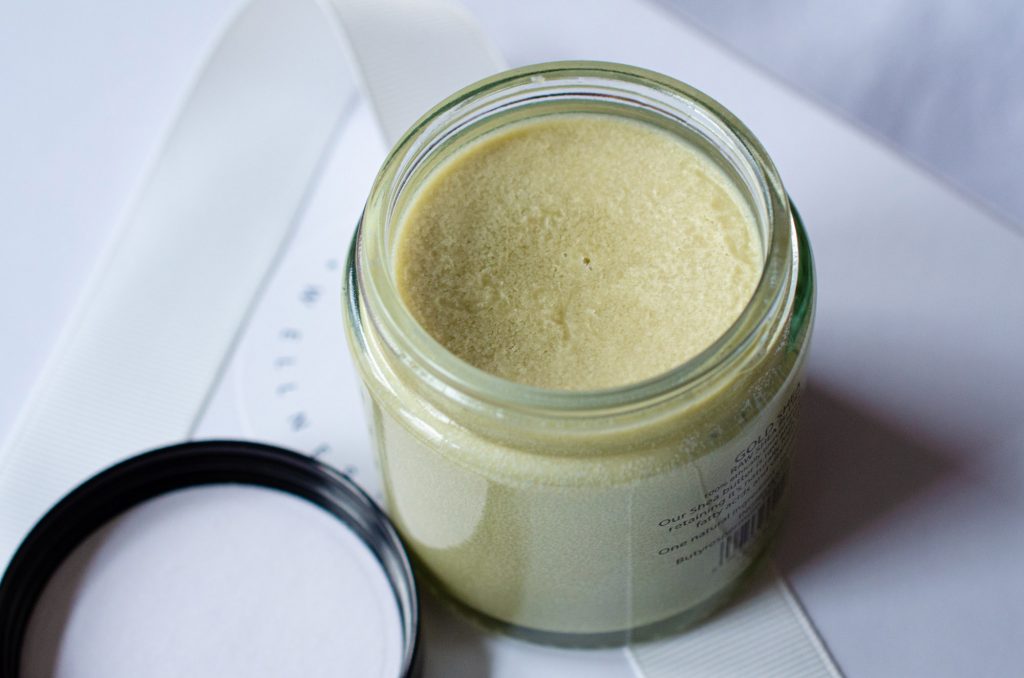
But in this post, I’m going to show you how you can create your very own breast milk lotion. It has a beautiful silky texture that can be pumped like a regular lotion, absorbs beautifully, and gives your skin all the benefits of breast milk plus way more.
First, a note to those who’ve tried to make breast milk lotion before and found that their breast milk lotion separated or split not long after making it.
Why breast milk lotion separates – and how my recipe is different
Your breast milk lotion is separating because you’re using beeswax, which isn’t an emulsifier! Emulsifiers bind the water and oil in your recipe together so they won’t split or separate. Breast milk is 87% water, therefore, to bind it to oil or butter you need an emulsifier.
My recipe is different to other recipes for breast milk lotion. First, it’s properly formulated using a true emulsifier (OliveM1000), not beeswax. Beeswax is a thickener, not an emulsifier and you will find, as I did, that following these recipes will lead to your breast milk lotion splitting.
I also urge you to consider the shelf life of your breast milk creations. Breast milk contains a lot of water. This water can harbour bacteria – good bacteria from you, but also bad bacteria, mould, and fungus from the outside world. Websites that advise you to use your lotion within a month are wrong. You need to keep your lotion in the fridge and use it within 7 days, just like fresh breast milk. You can use a preservative to be on the safe side (I do) – and yet, milk cannot be preserved in this way and I’ll explain why in a bit.
But first, and safety discussions aside, let’s focus on your beautiful wonder ingredient – your breast milk!
Why use a breast milk lotion?
Are you the kind of person who uses breast milk on everything? If so, you’ll love this formula! Use it to treat a range of skin complaints or just as a lovely moisturiser. It works complete wonders for dry skin. I use my lotion on all of my children – it soothes and heals my youngest daughter’s eczema prone skin. Not to mention, my own psoriasis has improved so much through using this lotion!
It combines 40% breast milk with a dash of soothing aloe vera, luscious shea butter, silky cocoa butter, healing calendula CO2 extract, balancing jojoba, and cheerful orange essential oil.
Why is breast milk so good for skin?
Breast milk contains several fatty acids. The most notable of these is lauric acid, which is the same fatty acid found in coconut oil. It’s moisturising, but it also fights acne due to its anti-microbial qualities. As well as preventing and treating spots, it can also help with inflammation, too.
Breast milk also contains palmitic acid, a moisturising and occlusive agent that locks moisture into the skin.
Add moisturising and anti-ageing oleic acid, and finally conjugated linoleic acid, which moisturises, soothes inflammation, and lightens the skin tone.
You probably already know that you can use breast milk to treat a wide range of skin conditions in mama and baby:
- Dry skin
- Sore and cracked nipples
- Nappy rash
- Bites and stings
- Cuts
- Eczema
- Psoriasis
- Cradle cap
- Sunburn
I bet you can think of many more uses, too. It really is a wonder substance that helps the body to heal.
My lotion takes things a step further by holding all the goodness of breast milk against the skin in a lotion.
Breast milk lotion formula
Here I’m going to share exactly the formula I use to make my breast milk lotion. It’s taken me several months to perfect this recipe. And by the way, if you’re looking for a solid breast milk lotion bars recipe, step this way!
And today I’m going to share everything I learned with you so you can make your own amazing breast milk lotion – let’s do it!
Measuring your formula ingredients
The first step to creating a professional formula is to devise your ingredient amounts using percentages. Although it’s easier, we definitely want to avoid using mixed measurements such as tablespoons, drops, etc.
Why, you may ask? When many hobby blogs post skin care formulas this way? True – but when we use mixed measurements in a skin care formula, it can lead to inaccurate results and make it hard to adapt the formula. It can also lead to skin sensitisation – a drop of feather-light orange essential oil weighs far less than a dense drop of vetiver essential oil!
In order to be precise and get reliable and consistent results, we use grams to measure all our ingredients.
To do that, we need scales that measure very accurately down to 0.1g. These are widely available, and here’s a link to formulating scales similar to mine.
My breast milk lotion formula makes about 50g of lotion. We don’t to make too much, since this is a fresh product and needs to be used within a short time frame.
A note about preserving and storing your lotion
Because of the limitations of working with breast milk, and whether or not you use a preservative, keep this lotion in the fridge. You can’t depend on a preservative to keep this product safe. To be on the safe side, use it like a fresh product. Keep it in a fridge and use it within 7 days.
What’s the deal here? You may already know that preservatives are absolutely necessary to preserve any cosmetic ingredient that contains water. It keeps our cosmetics safe, protecting from bacteria, mould, and fungi.
Milk is a notoriously difficult ingredient to work with in cosmetics. You can’t just add a preservative to milk, otherwise food manufacturers would do this to extend its life – right? Except they can’t, because fresh milk is essentially contaminated.
Because of this, for the most part, adding preservative won’t stop a contaminated ingredient from being contaminated!
Think of it like deodorant. If you apply deodorant to clean underarms, it keeps you clean and fresh and controls bacteria all day. However, applied to a dirty underarm, it’s less effective.
I’ll say it again – absolutely make sure you use the keep your breast milk lotion in the fridge, and use it within 7 days, just like fresh breast milk.
Note that in this recipe I’ve stated that preservative is optional. That’s because you’ll be using it within 7 days. I still use preservative for good practise and “just in case” I leave my lotion out of the fridge.
Formula phases
When we talk about separate parts of a skincare formula, we call these parts “phases”. With an emulsion formula (a water and oil based lotion or cream), there’s typically a water phase, an oil phase, and a cool down phase. The cool down phase is where we add heat sensitive ingredients (like breast milk – we don’t want to scald the goodness out of it!). Essential oils go in this phase, too.
Here, I will show you the ingredients I use and what percentage I use in the formula.
Water phase
Here are all the water based ingredients. You can replace any or all of the optional ingredients by swapping them with the same weight of distilled water.
| Distilled water | 30.3% |
| Glycerin (optional) | 3% |
| Xanthan gum (optional) | 0.2% |
| Aloe vera concentrate (optional) | 5% |
Oil phase
All oil based ingredients. Replace oil based optional ingredients with sweet almond oil. Replace butter based optional ingredients with shea butter.
| Sweet almond oil | 7% |
| Jojoba oil (optional) | 4% |
| Shea butter | 3% |
| Cocoa butter (optional) | 1% |
| OliveM1000 emulsifier | 4% |
Cool down phase
All ingredients that go in the cool down phase below 40c. Replace optional ingredients with breast milk or distilled water.
| Breast milk | 40% |
| Calendula CO2 extract (optional) | 1% |
| Orange essential oil (optional) | 0.5% |
| Preservative (optional but recommended) | 1% |
Breast milk lotion ingredients
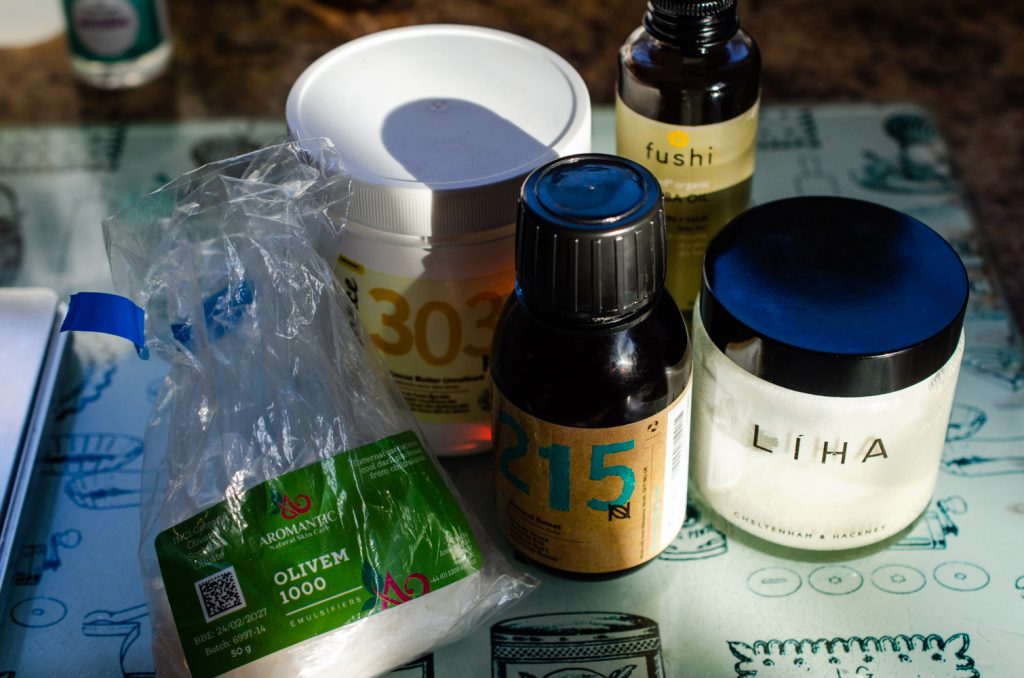
Here are all the ingredients I use in my lotion, and where I source them from in the UK.
Distilled water
Distilled water is cheap and widely available. I’m using Innovative Naturopathics Distilled Water.
I don’t recommend you use tap water in your formula, since its mineral and bacteria content can affect it. A nice alternative is floral water in lavender, chamomile, or neroli – which makes for a beautifully scented lotion and is suitable from birth.
Aloe vera concentrate (optional)
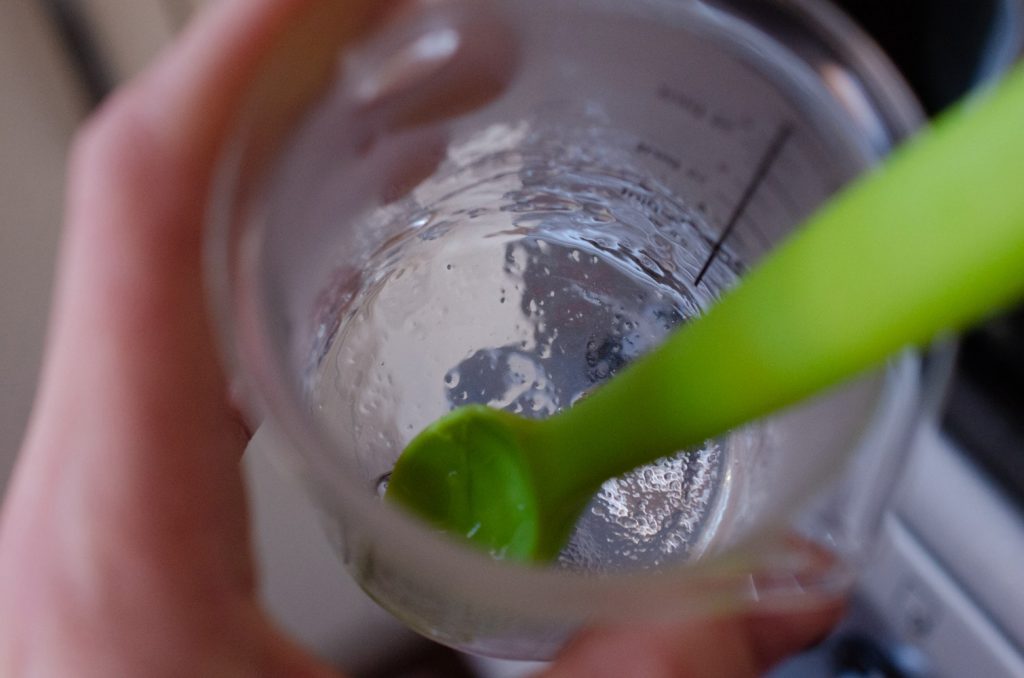
Soothing and cooling, aloe vera helps wounds to heal and reduces inflammation, so is helpful for all kinds of skin conditions and complaints. This ingredient is optional. Just replace its weight with distilled water. I use Aromantic Aloe Vera Concentrate which is water soluble and goes into the heated water phase. It can be known to destabilise an emulsion, that’s why I use xanthan gum in my recipe, too. This ingredient is optional. Just replace its weight with distilled water.
Glycerin (optional)
A humectant that draws moisture to the skin and gives the lotion a lovely slip. You can pick this up in the bakery section of the supermarket. This ingredient is optional. Just replace its weight with distilled water.
Xanthan gum (optional)
Stabilises the lotion. You can pick this up in the bakery section of the supermarket. This ingredient is optional. Just replace its weight with distilled water.
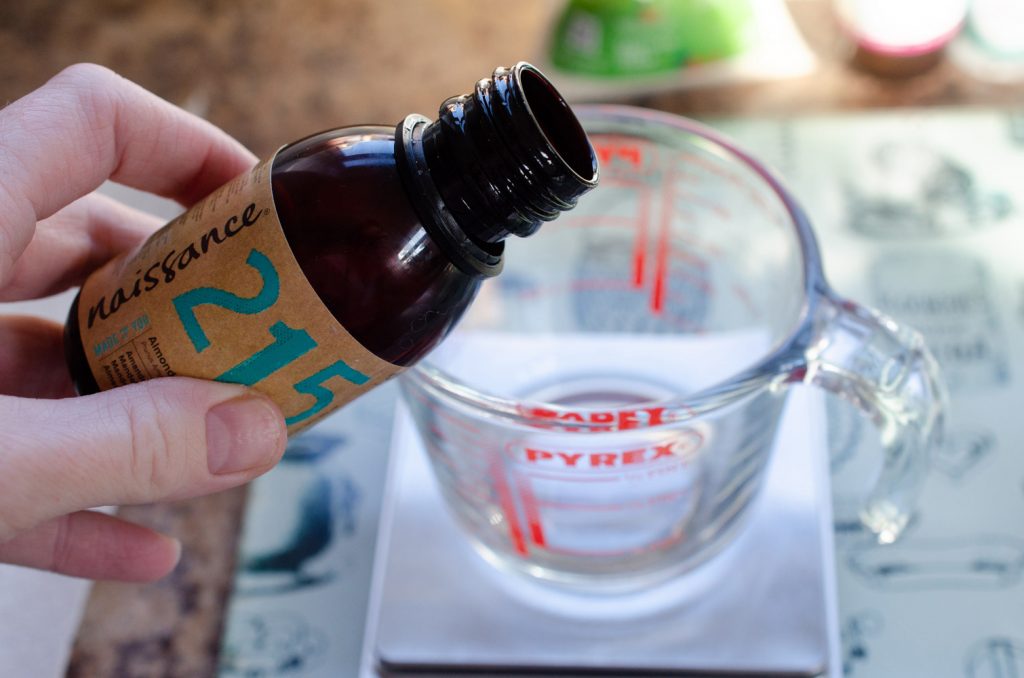
Sweet almond oil
I use sweet almond oil because it’s value for money and great for skin of all ages. You could replace it with another carrier oil such as grapeseed oil, apricot kernel seed oil, etc.
I don’t recommend olive oil for use on babies skin due to its high oleic acid content. In this recipe, I use Naissance Sweet Almond Oil.
Jojoba oil (optional)
Rich in fatty acids and vitamin E, readily-absorbed jojoba oil moisturises while helping to balance skin’s sebum production. I love the skin feel that jojoba oil brings to this lotion, but you can replace it with your main carrier oil or another oil of your choice, so long as the amount used remains the same in total. I use Fushi Jojoba Oil.
Shea butter
This luscious ingredient boosts healing, aids collagen production, and is anti-ageing. Shea butter is an intensive moisturiser rich in vitamins A, E, and F, and offers some UV protection.
I like to pay more for an excellent grade of shea butter since over-processing can reduce its beneficial properties. At the moment I’m using Liha Raw Shea Butter which has a beautiful smoky aroma.
Cocoa butter (optional)
This butter is full of saturated fatty acids with great moisturising properties. Cocoa butter gives my lotion a boost of polyphenols and flavonoids, an amazing chocolate aroma, and a silky feel.
Cocoa butter is optional, and you can replace it with shea butter. It will soften the texture of the lotion a little, however. Here I’m using Naissance Cocoa Butter.
OliveM1000 emulsifier
You need an emulsifier to bind the water and oil components of the recipe together. Since breast milk is predominantly water, this is an essential ingredient to bind it to the oils and butters in the recipe. Note: beeswax and other waxes aren’t emulsifiers! I use OliveM1000 emulsifier from Aromantic. You can use between 3% and 6%. Use any emulsifier of your choice here.
Breast milk
Your very own wonder ingredient! Use fresh or expired breast milk from the freezer, defrosted. Make sure that the fat is well mixed in before adding it in.
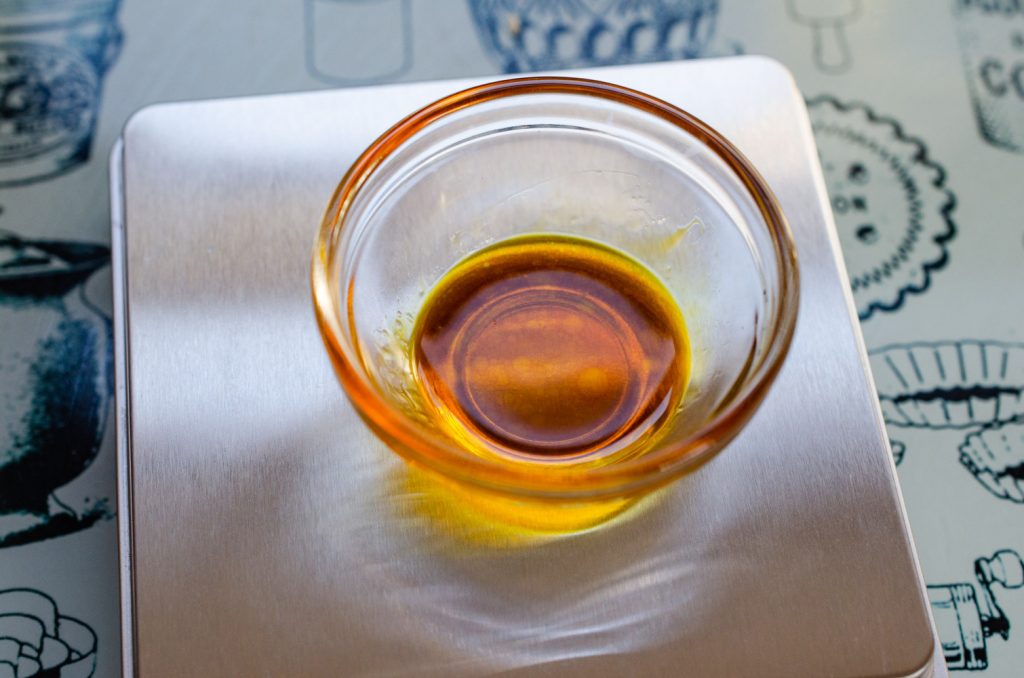
Calendula CO2 extract (optional)
The herb calendula has been used for centuries to heal and soothe with its high vitamin and mineral content. It appears in so many amazing recipes for skincare and baby care. In this recipe, I’m using Aromantic Calendula CO2 Extract.
Orange essential oil (optional)
I think orange essential oil is so cheerful, and of course it smells amazing. But it’s also a useful ingredient in preventing infection, which makes it ideal for skincare. Orange can cause photosensitivity, but not in the concentration we’re using here. If in doubt, you can leave it out. I love The Soapery Sweet Orange Essential Oil.
Preservative (optional but recommended)
I use Preservative Eco (INCI: dehydroacetic acid & benzyl alcohol) which is considered a natural preservative.
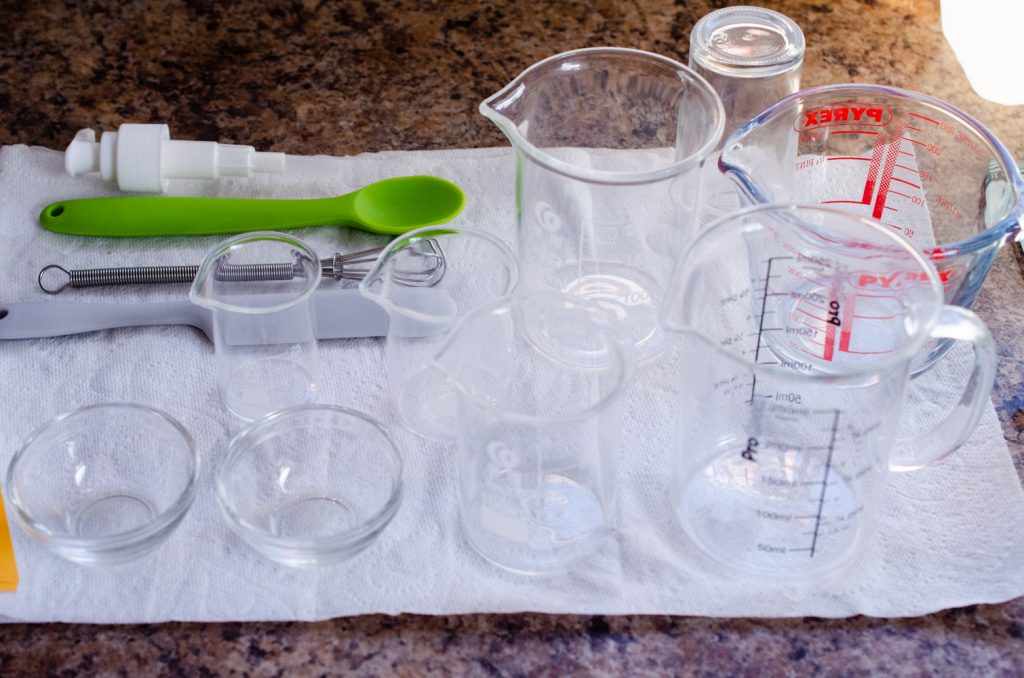
Equipment you’ll need to make your breast milk lotion
If you are serious about making your own skincare, I urge you to buy a few essentials. This is not a food recipe and you need a few easily obtained items. This might be the start of your DIY skincare journey!
Essential Equipment
- Scales that measure down to 0.1
- Thermometer. I use a dual probe meat thermometer to measure my phases together, but you could use any thermometer that’s suitable for food or cosmetic use.
- Mini whisk – absolutely indispensable!
- Silicone spatula, spoon, or palette knife – highly recommended to scrape every last bit of lotion out of your jug or beaker.
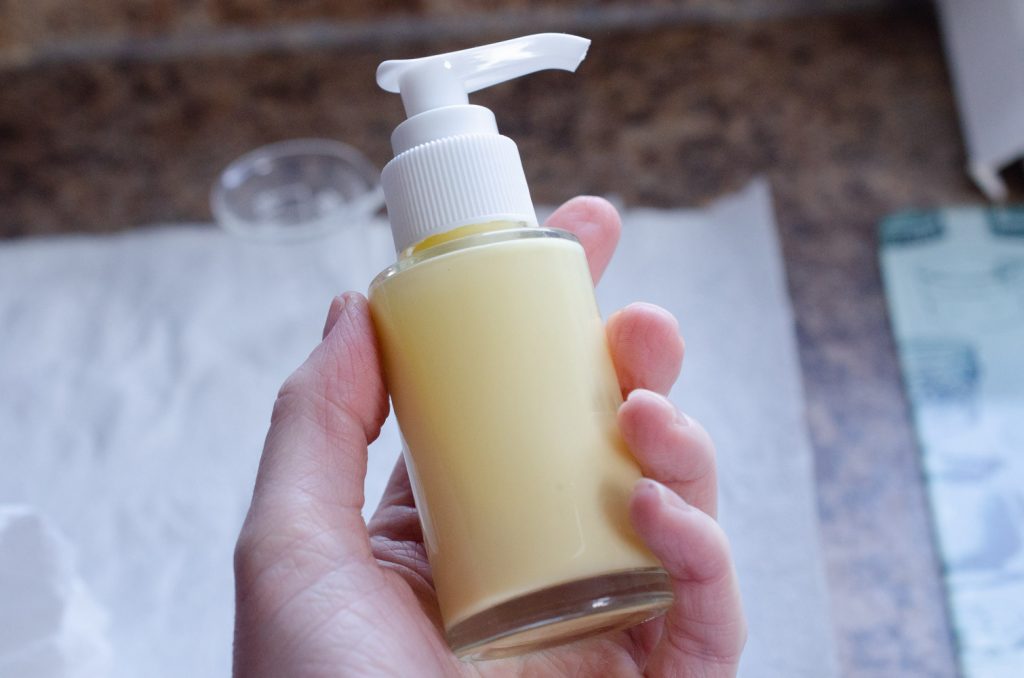
- Suitable container – this lotion can be pumped, so I’m using a 50ml lotion bottle from Ampulla.
- 2 x heatproof jugs with handles – Pyrex works!
- 2 saucepans big enough to fit both jugs at the same time
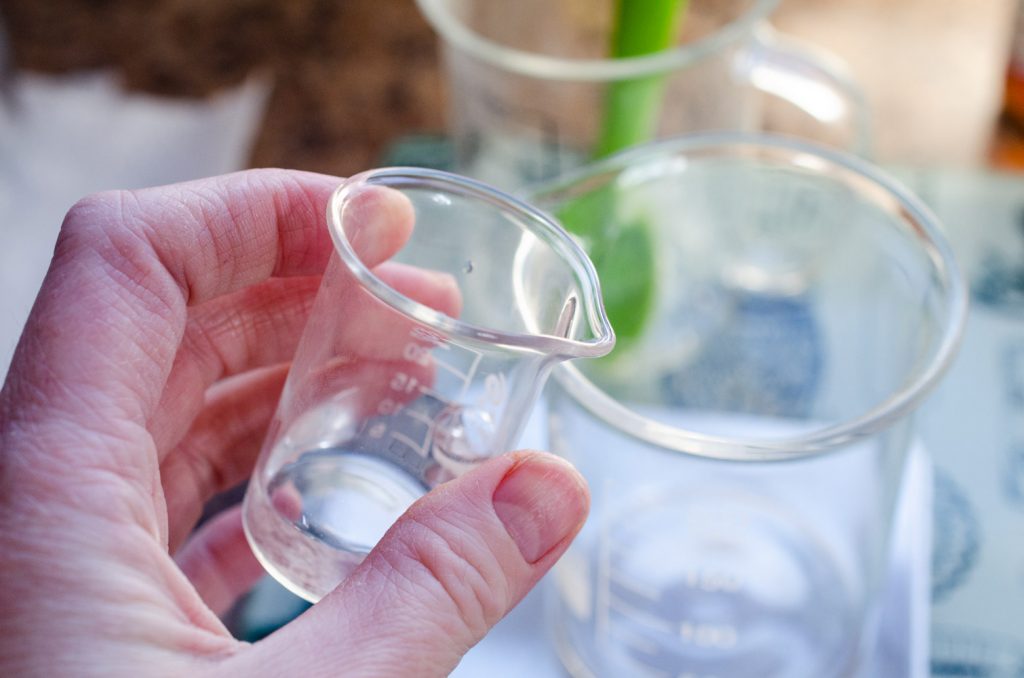
- Glassware to measure your ingredients into. I use this beaker and pipette set. It’s super cute and really handy too! Although you could use egg cups or tiny bowls.
Sterilising your equipment
After washing with warm soapy water, sterilising your equipment and container is a must.
For anything that can’t take boiling water, I use 70% isopropyl alcohol and mist it all over the equipment from a spray bottle. Leave it to air dry completely before use.
Now we’ve got all our ingredients and devised the formula, let’s get formulating!
The recipe – how to make breast milk lotion
So here we go! After all the preparation, let’s look at how we put it all together – in one place. By the way, if you’re looking for a simpler breast lotion recipe for solid bars, try this one.
Ingredients
Water phase
- Distilled water 15.15g
- Glycerin (optional) 1.5g
- Xanthan gum (optional) 0.1g
- Aloe vera concentrate (optional) 2.5g
Oil phase
- Sweet almond oil 3.5g
- Jojoba oil (optional) 2g
- Shea butter 1.5g
- Cocoa butter (optional) 0.5g
- OliveM1000 emulsifier 2g
Cool down phase
- Breast milk 20g
- Calendula CO2 extract (optional) 0.5g
- Orange essential oil (optional) 0.25g
- Preservative Eco at 1% (optional but recommended) 0.5g
Method
Preparation is so much of this formula!
Preparation
1. Wash and sterilise your equipment, container, and glassware. Leave it to air dry or use kitchen paper to dry things.
2. Assemble the ingredients according to phase – oil, water, and cool down.
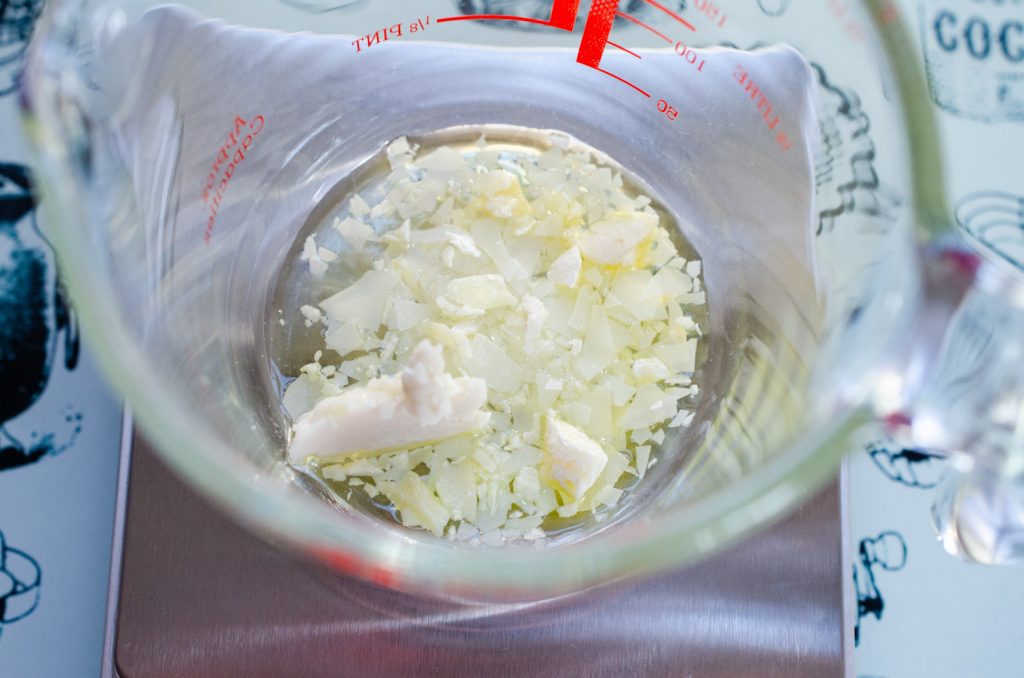
3. Measure out your ingredients. Start with the oil phase. Measure all the oil phase ingredients into your first heatproof jug. Set aside.
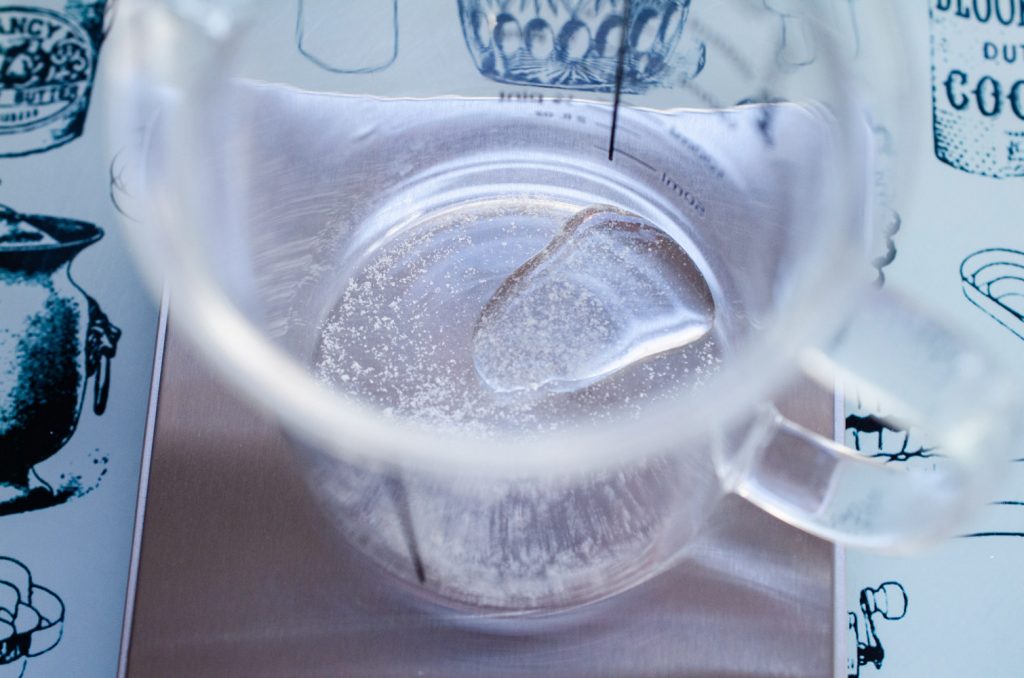
4. If you’re using glycerin and xanthan gum, make a slurry. Measure and mix them well in your second heatproof jug. Use a silicone spoon to fully mix. Set aside.
5. Measure the distilled water and aloe vera (if using) into the same beaker. Measuring the distilled water can be tricky, so I use a smaller beaker to help rather than struggle with a large bottle on the scale. Swirl well.
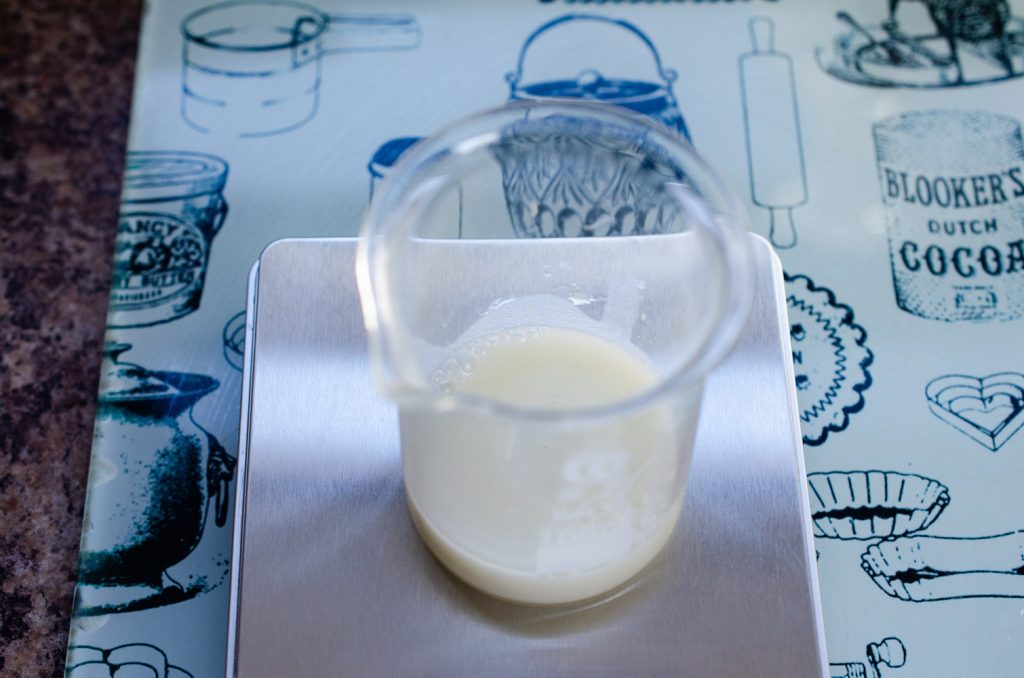
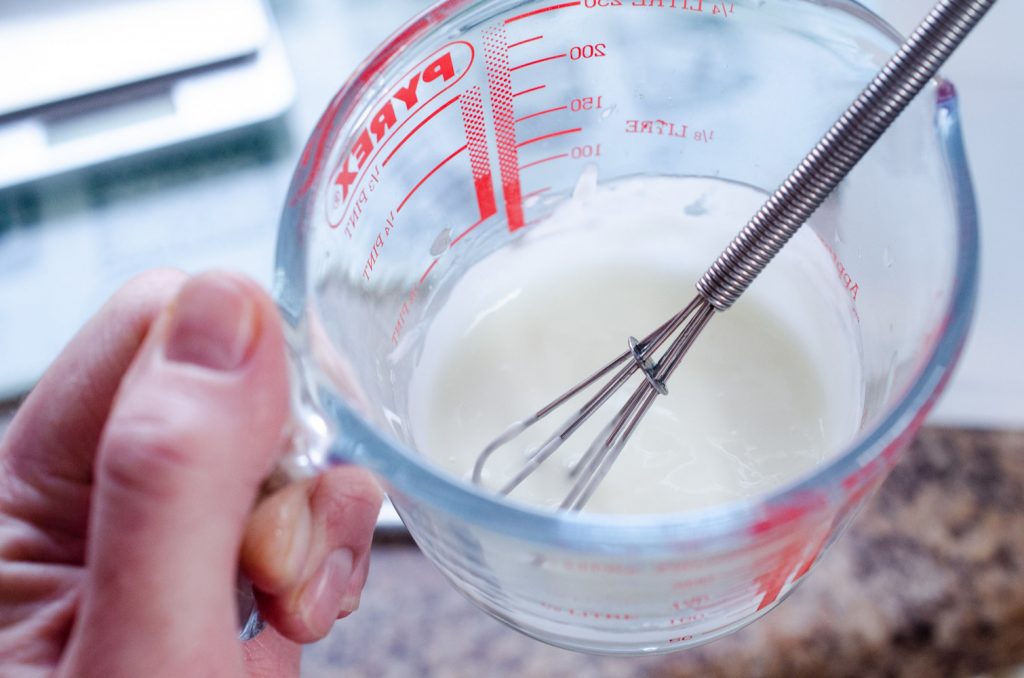
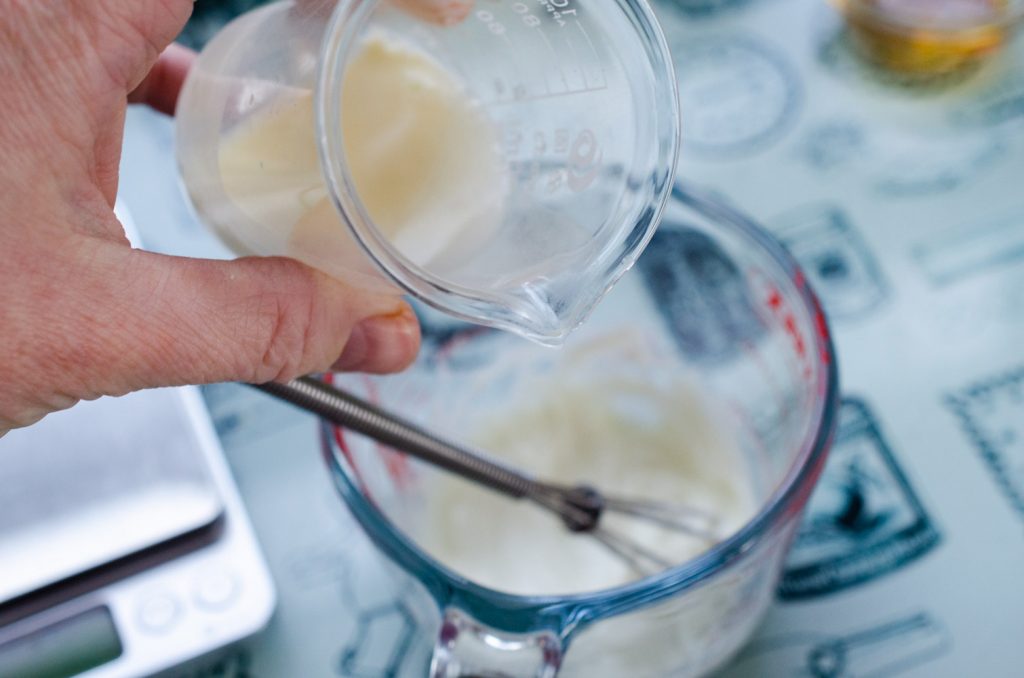
6. Weigh out the breast milk into a separate beaker. Set aside.
7. Weigh the preservative, calendula CO2 (if using), and orange essential oil (if using) into the same small beaker or bowl. Set aside.
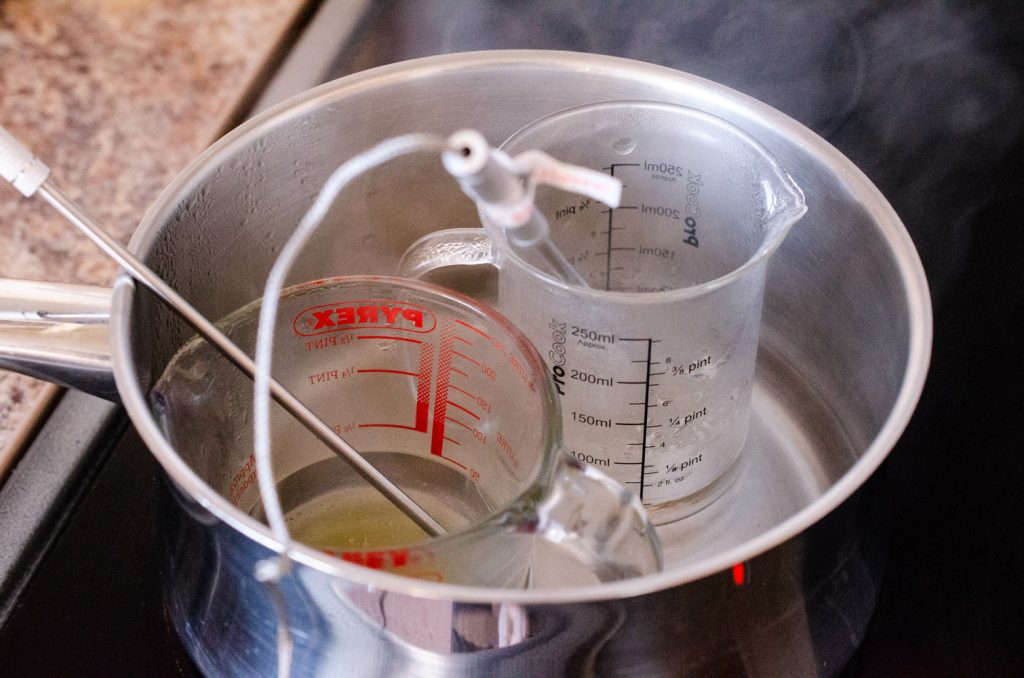
8. In a large saucepan, set up a bain-marie to go about half way up your jugs. Be careful the water doesn’t upend the jugs!
9. In another saucepan, set up a cool water bath. This helps in your cool down phase to ensure everything is cooled down at the same rate and you get a silky smooth emulsion. Use cold water and throw in a few ice cubes.
Heating
1. Now it’s time for heating! Heat the distilled water and aloe vera mix to about 75 celsius.
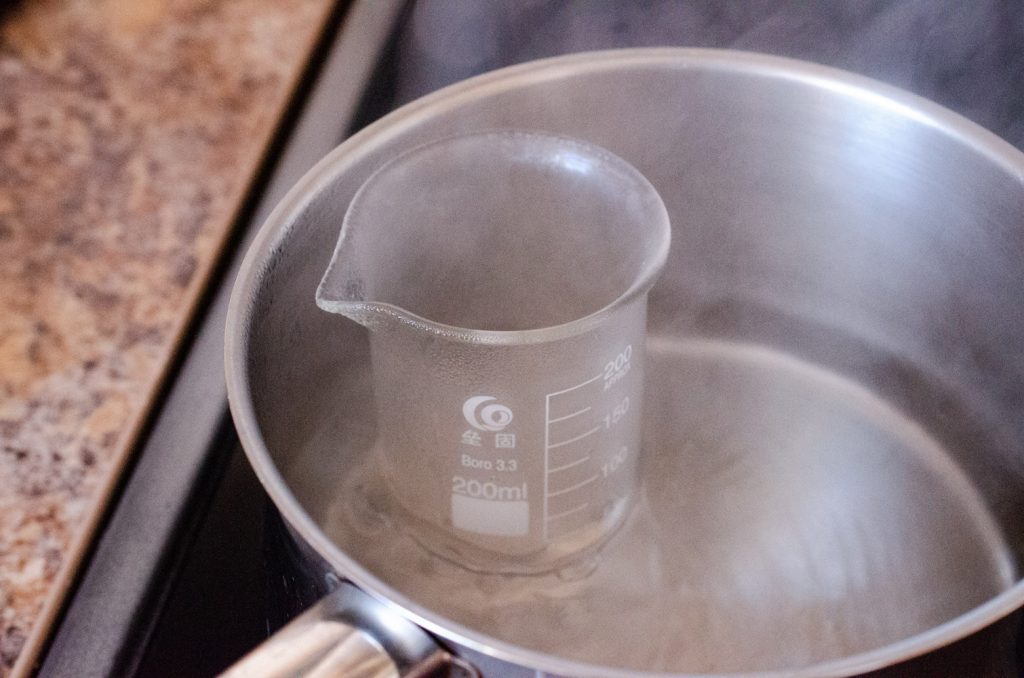
2. Once you’ve hit 75c, put your water phase jug with the xanthan gum/glycerine slurry into the bain-marie, then tip the distilled water and aloe vera mix into it. Give it a gentle but thorough mix. Too much mixing creates air bubbles. It should be a thin gel consistency.
3. Now add the oil phase jug to the bain-marie. Heat both phases up to 75 celsius, gently stirring to mix occasionally.
4. Once you’ve hit this target temperature, it’s time to make your emulsion! Slowly pour the water phase to the oil phase, I usually do this in the bain-marie. You will start to see the emulsion forming and the mixture turning a whiter colour. There may be some gelatinous lumps, just keep on whisking! You can lift the emulsion out of the bain-marie at this point.
Cooling
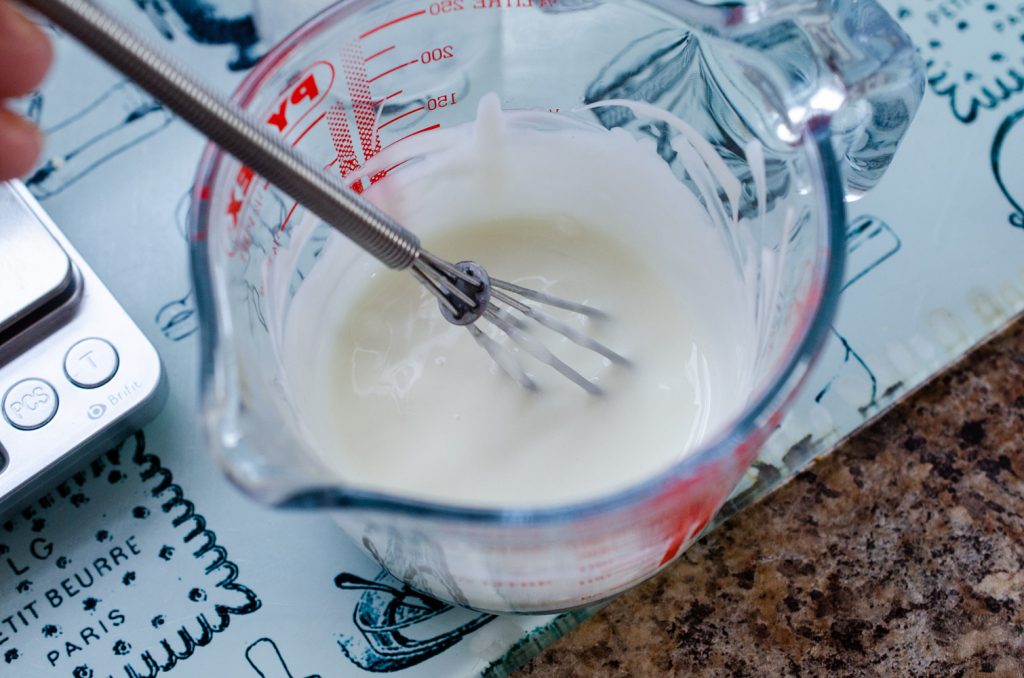
1. Once you’re sure the whole thing has come together, put the jug in the cool water bath. Keep whisking, only gently, and monitor the temperature until it’s at 40 celsius. The texture should be thick and creamy. Remove from the cool water bath.
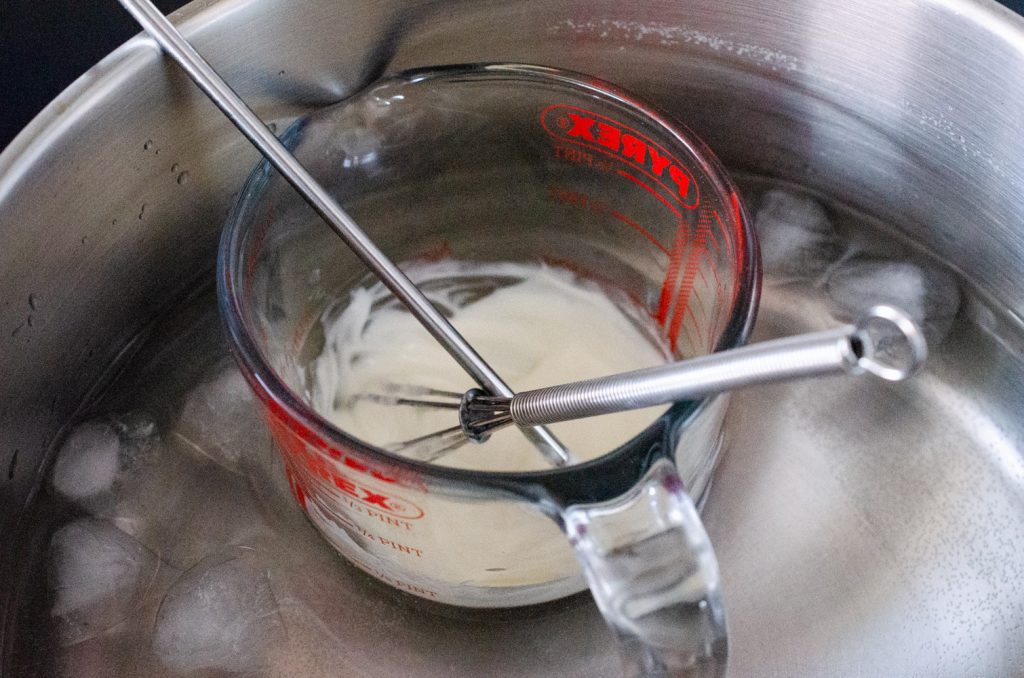
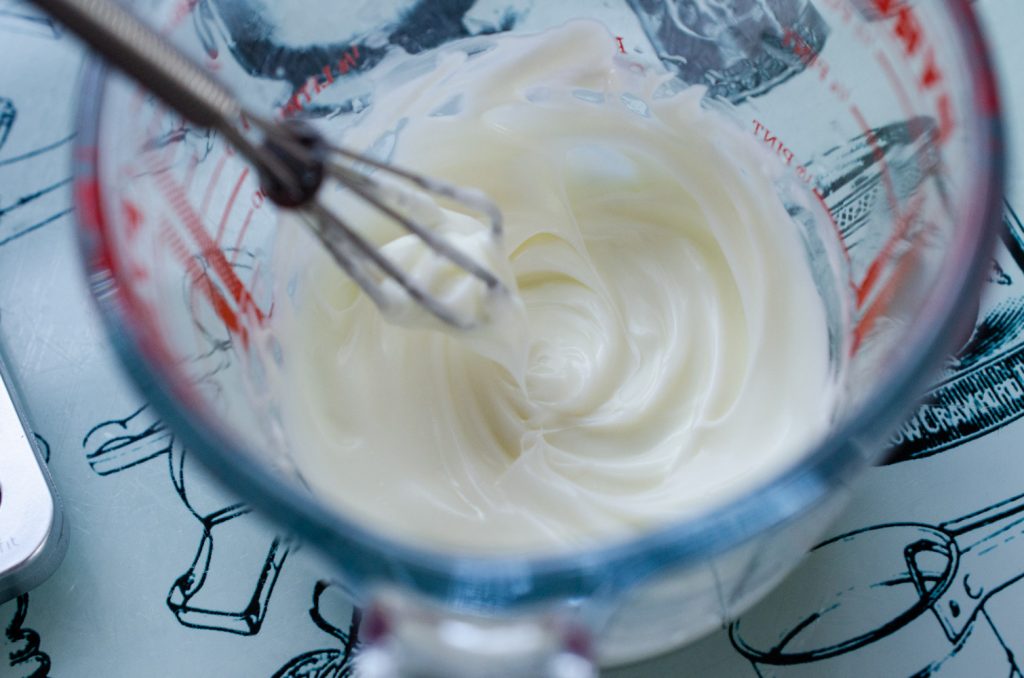
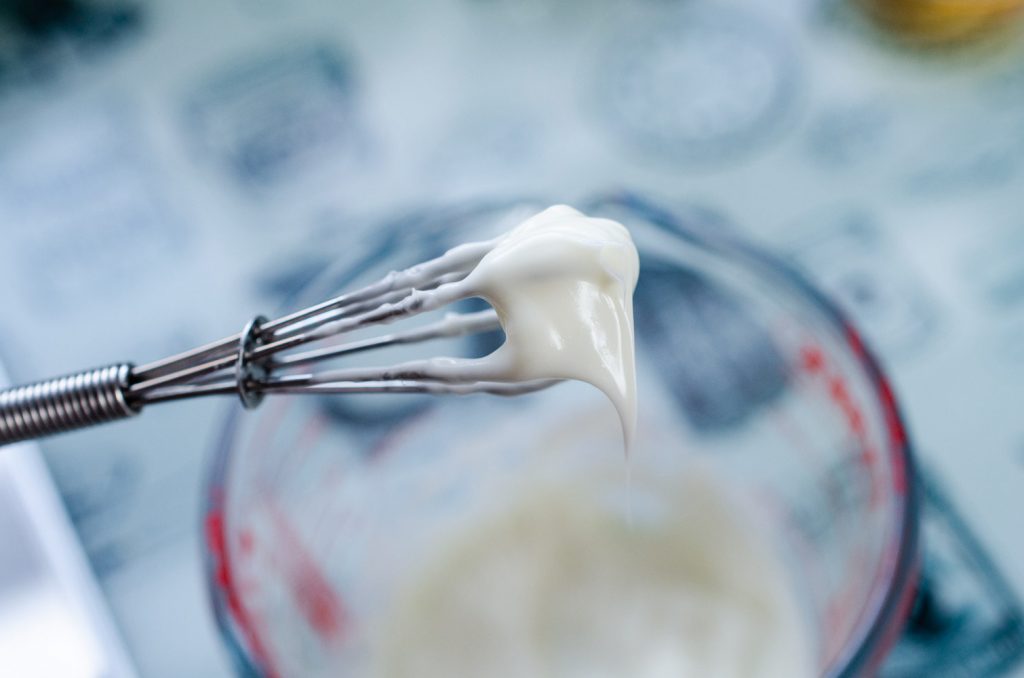
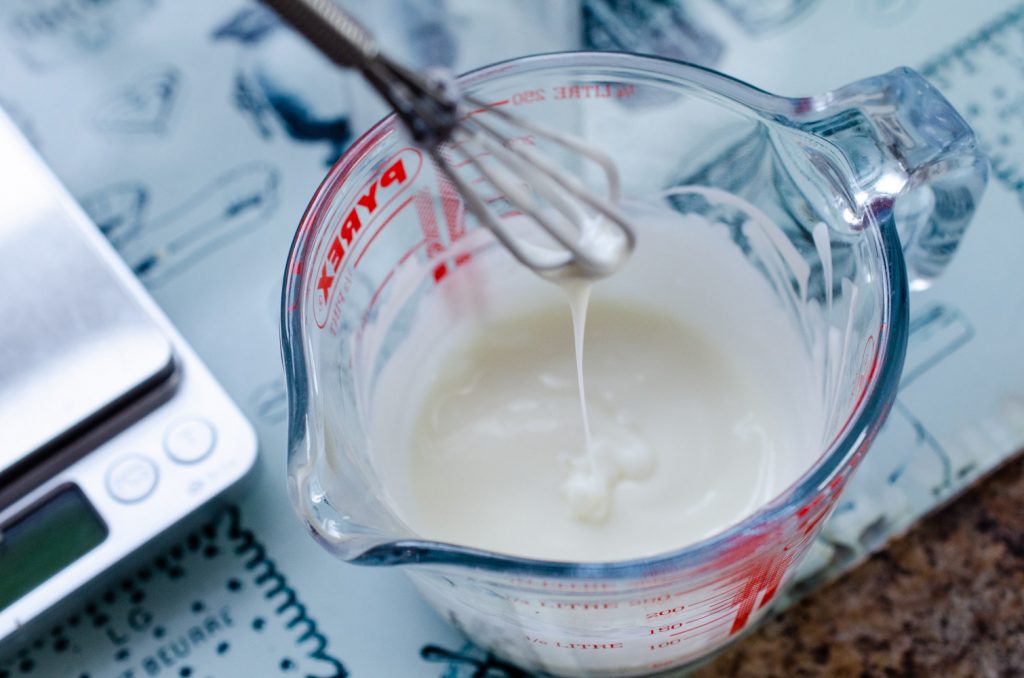
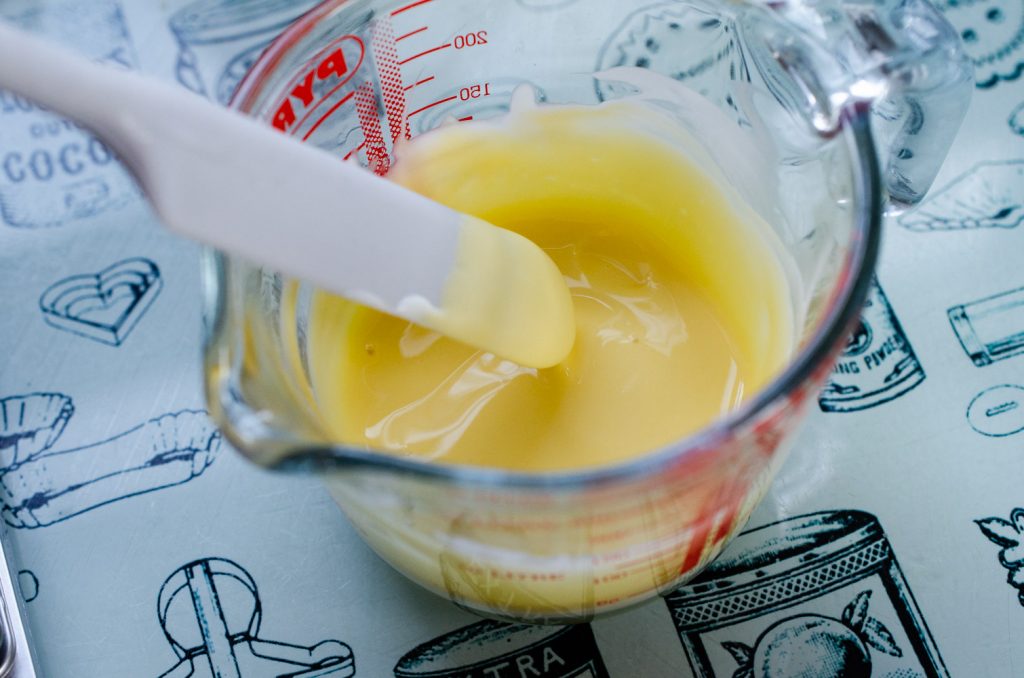
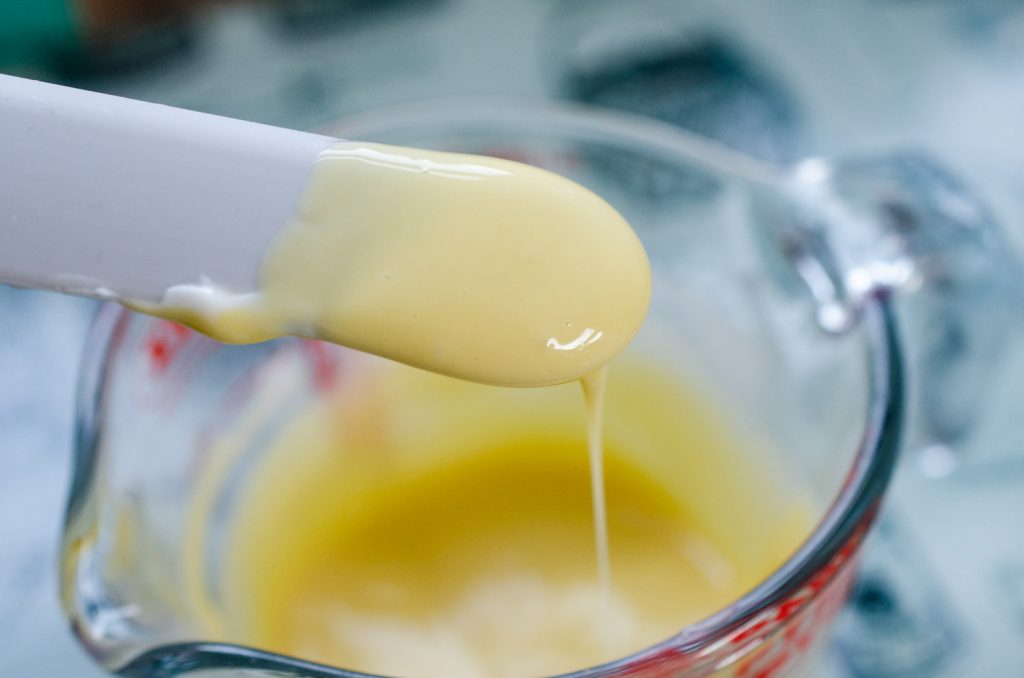
2. Now it’s time to add your cool down phase ingredients! Start with the breast milk. Add the breastmilk a splash at a time, stirring or whisking thoroughly between each addition until everything has come together. You should now have a lotion consistency!
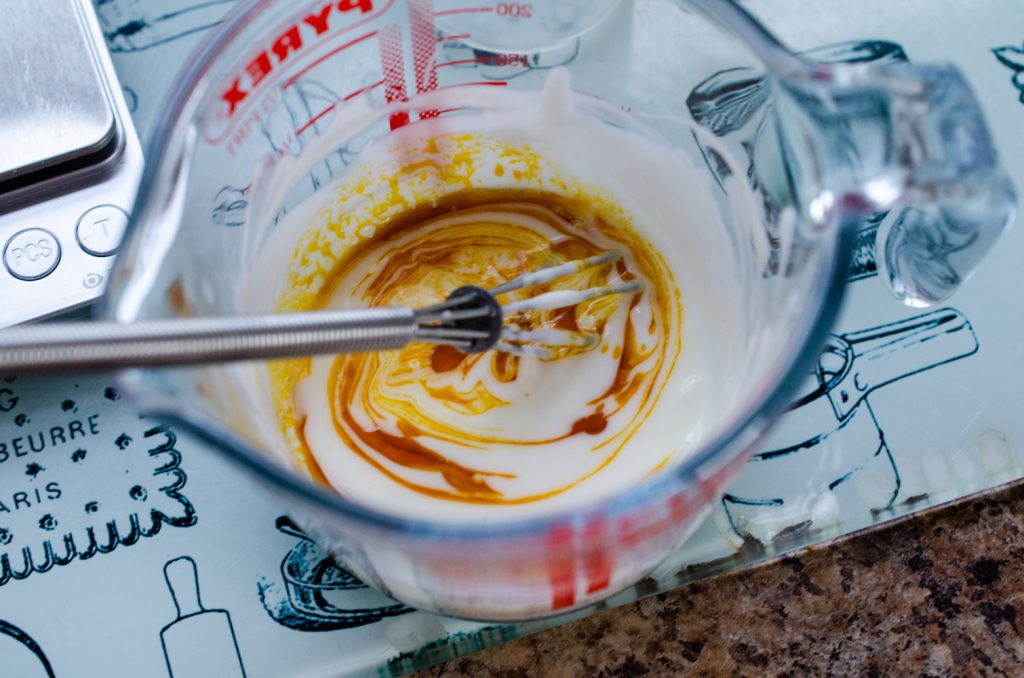
3. Finally, add the preservative, calendula, and orange essential oil mix. What a delight! It looks and smells great!
4. Pour into your chosen container immediately. OliveM1000 tends to thicken over 24 hours so I like to package mine up while it’s still easy to pour from the jug and enjoy!

Final thoughts on my breast milk lotion with calendula and orange
I hope you’ve enjoyed following this formula for breast milk lotion. It’s such a beautiful lotion and I know you and your family will love using it as much as we do.
If you have any questions or comments at all, or need any help – I’d love to hear from you! Just pop your comment in the comments section below.
And to hear more from my just subscribe to my blog or follow me on Instagram.
Happy making!


6 Comments
Thank you for sharing this unique and informative article. It’s wonderful to explore natural alternatives for skincare, also great to learn about alternative remedies.
Hey! I’m Shirley from Malaysia. Just wondering if there is any need to adjust the PH to this formulation?
Hi Shirley! I haven’t found it to be necessary. I tested it with pH strips and it was within the correct range for the preservative to function.
Thank you so mucha
Do you have any experience freezing this lotion? I’m trying to determine if it’s possible to freeze in small portions.
Hi Amy, I’ve never frozen it but you could definitely try.