
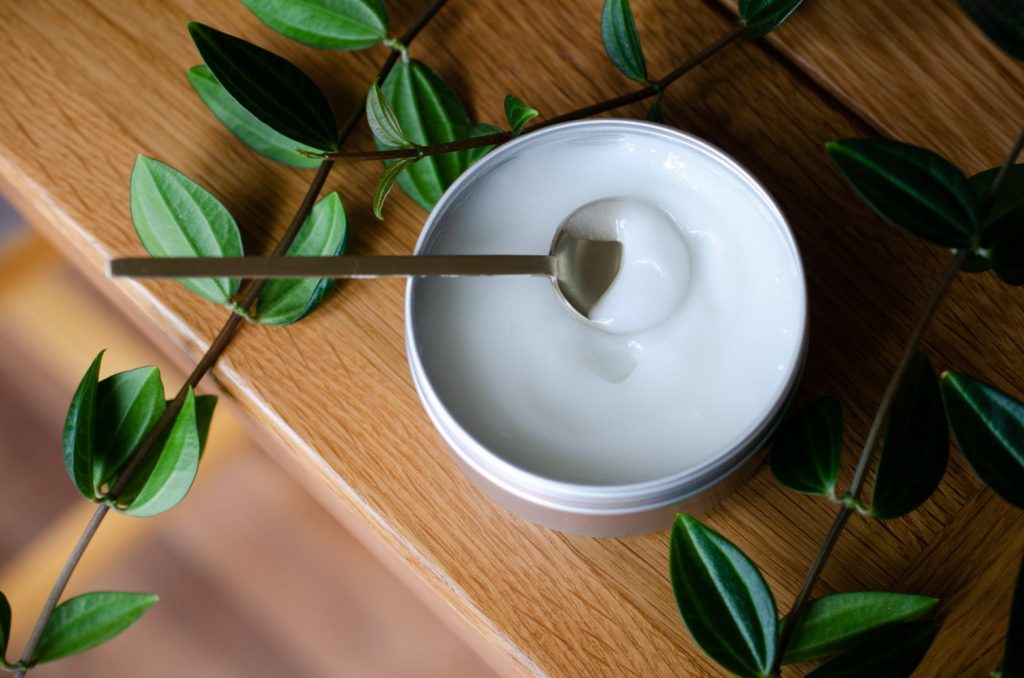
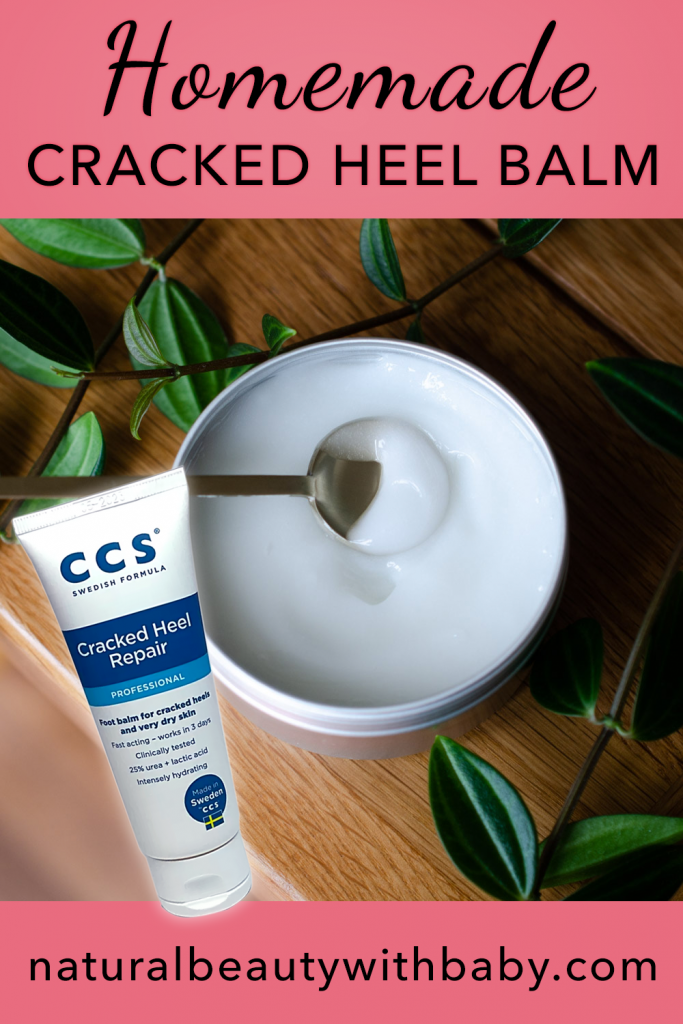
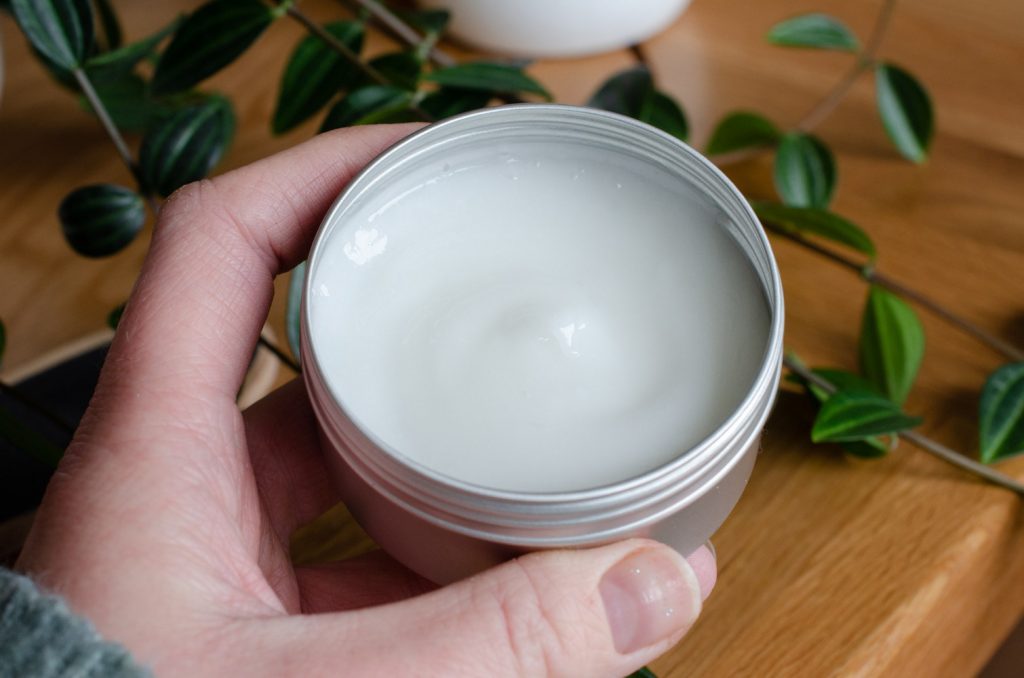
Welcome back, skincare lover! Today I’m over the moon to share my formula for my own favourite Urea & Lactic Acid Foot Cream! This cream is a dupe for the amazing CCS Cracked Heel Repair Cream.
I’m an amateur dabbler in making my own skincare and cosmetics. I’ve been making my own face creams for about 6 months, but over Christmas I decided to have a go at making a foot cream. Not just any old foot cream but one with ingredients that will make cracked heels and dry skin a thing of the past.
Why use a foot cream with urea and lactic acid?
Do you have cracked heels on your feet? You may already know you can’t just apply moisturiser or balm to this area to stop the cracking.
What you need is exfoliation!
This foot cream stars urea and lactic acid as its main superstar ingredients. Urea helps to drive the lactic acid deep into dead skin on the feet. The lactic acid deeply exfoliates by loosening the bonds between dead skin cells so that they come away.
It works like an absolute champ in conjunction with soaking the feet in warm water, and using a foot file (not a metal one – those are brutal!).
To make this cream super moisturising, feel nice and smell delicious, I’ve included sweet almond oil, glycerin, cetyl alcohol, and a delightfully minty combination of spearmint, peppermint, and eucalyptus essential oils.
Without this cream, my feet soon fall into a ruinous condition. It really is a formula I cannot live without. And if you like making your own skincare and suffer cracked heels, you should definitely give it a go!
So let’s have a look at these ingredients in more detail.
Formulating safety
Before we start, make sure you wear gloves, apron, and eye protection to protect yourself and your clothing while making this cream. Both urea and lactic acid are irritants in high concentrations.
Using the cream
Remember to patch test before using the cream. To use the foot cream, take a small amount of the cream and gently rub it into your clean dry feet on the driest parts. It doesn’t tingle or sting, but obviously if any irritation occurs, discontinue use.
I recommend using the cream once or twice a day, preferably straight after a shower or bath.
To keep your feet at their best, soak them once or twice a week with epsom salts and use a gentle foot file once a week, to remove the dead skin that the cream creates.
Urea & Lactic Acid Foot Cream ingredients
Urea
My foot cream formula contains 25% urea, which is a lot – and more than the manufacturer recommends. However, I know it can be done and is safe to do for the skin (up to 40% in fact!) since it appears at these concentrations in many products. At this concentration, urea becomes what’s known as a keratolytic agent, meaning it reduces dead skin cell build up.
In my recipe, I’m adding it during the cool down phase. Why? Well, at this concentration I don’t want to overheat it. There’s conflicting advice out there about whether or not urea is heat stable. To be on the safe side I let it dissolve in some warm water (below 40 degrees) before adding it at cool down. It hasn’t destabilised my emulsion, so I’m happy. I’m still quite surprised one can add so much water based solution back into an emulsion without adding it at the heated water phase. I do the same thing in my formula for a breast milk lotion. Science, huh?
The crystals are a pain in the backside to dissolve. There are a few ways to tackle working with urea. If you’re working with a small amount of urea – perhaps 10% or less, you can add urea crystals in the heated water phase.
For larger amounts of urea, like in this recipe, I dissolve the crystals first then add the solution back in the cool down phase.
From following formulator blogs and Facebook groups, everybody seems to have different ways of working with urea – so experimentation is key!
Lactic Acid
Lactic acid is a chemical exfoliant – it breaks down dead skin cells.
Sweet almond oil
A carrier oil that I really like to work with as it’s inexpensive yet effective.
Cetyl alcohol
Cetyl alcohol thickens the mixture, and improves its silkiness. Silicones are used in CCS Cracked Heel Repair Cream, but I don’t want to use them in my formula so I needed to find an ingredient to improve the cream’s skin feel.
Spearmint and peppermint essential oils
Which foot cream doesn’t include cooling and refreshing mint, with its ability to control odour?
Eucalyptus essential oil
I chose eucalyptus for my foot cream for its anti-inflammatory and anti-bacterial qualities. It’s also in CCS Cracked Heel Repair Cream, which I love.
OliveM1000 emulsifier
OliveM1000 is easy to work with and great for beginners. You don’t need to add any extra thickening/stabilising agents, but you can if you like.
Glycerin
A humectant that helps skin to retain moisture.
Xanthan gum
This helps to stabilise the emulsion, especially as we are working with some frisky ingredients like urea and lactic acid. We only need the smallest amount to do this.
Distilled water
Tap water isn’t pure enough. I’m using Innovative Naturopathics Distilled Water.
Preservative (Saliguard PCG)
This is an easy synthetic preservative to work with as a beginning formulator. It works with pH ranges 3 to 10. I intend to use something else in the future, as I’d rather work with a natural preservative. You can use any preservative that works as low as pH 3.
Equipment you’ll need
- Scales that measure down to 0.1g
- Thermometer. I use a dual probe meat thermometer to measure my phases together, but you could use any thermometer that’s suitable for food or cosmetic use.
- Mini whisk – absolutely indispensable!
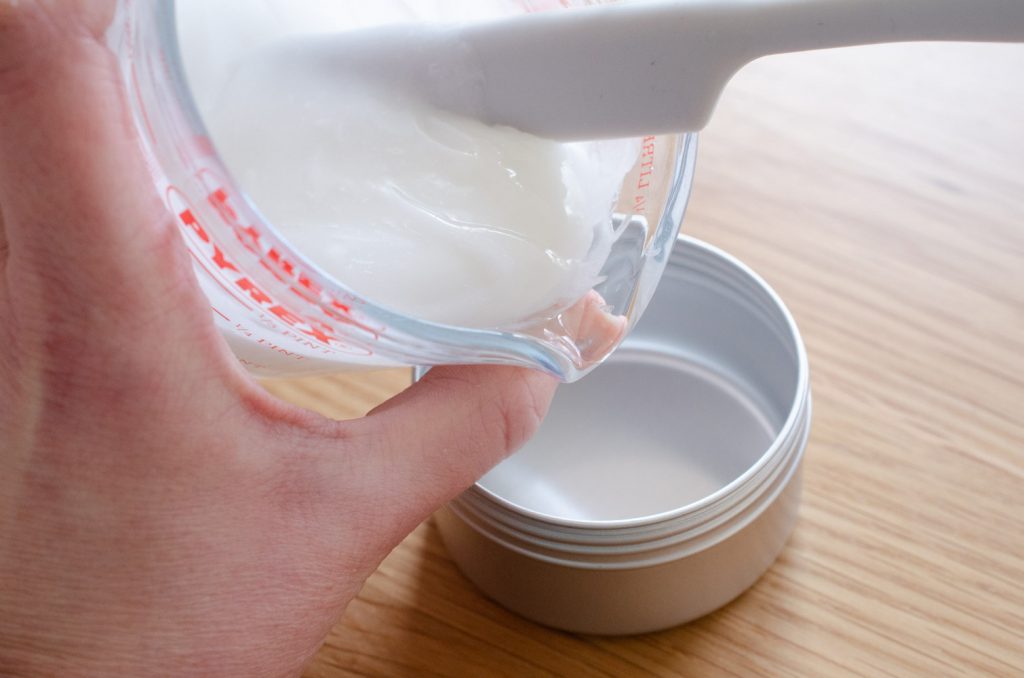
- Silicone spatula, spoon, or palette knife – highly recommended to scrape every last bit of lotion out of your jug or beaker.
- Suitable container – this lotion can be pumped, but I prefer to scoop it out so I’m using a 100ml aluminium container from Naturally Balmy.
- 2 x heatproof jugs with handles – Pyrex works!
- 2 saucepans big enough to fit both jugs at the same time
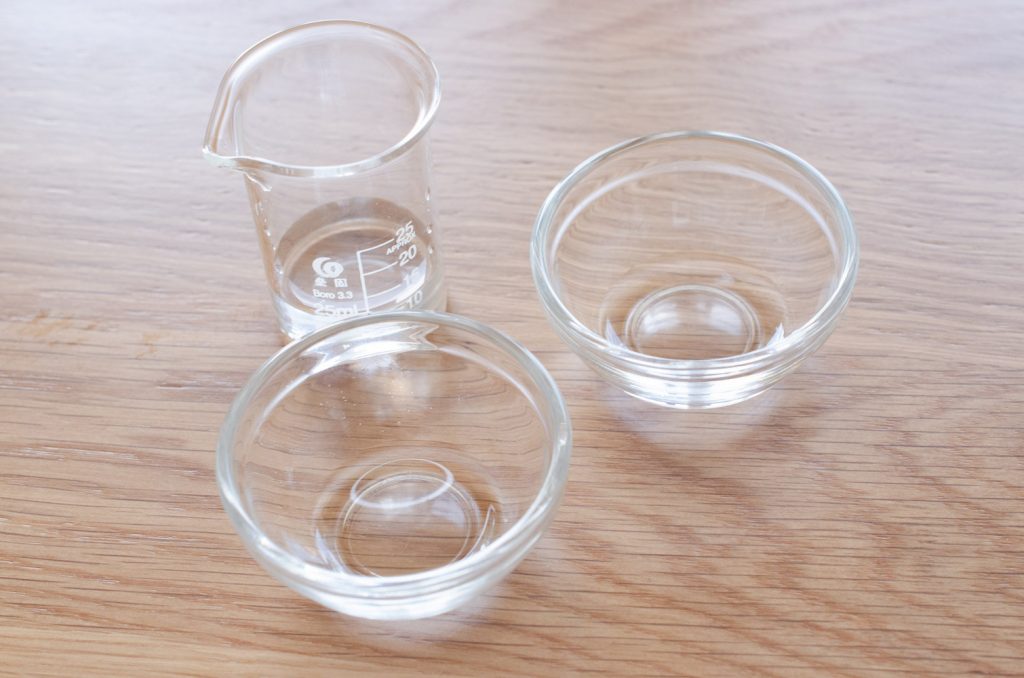
- Glassware to measure your ingredients into. I use this beaker and pipette set. It’s super cute and really handy too! Although you could use egg cups or tiny bowls.
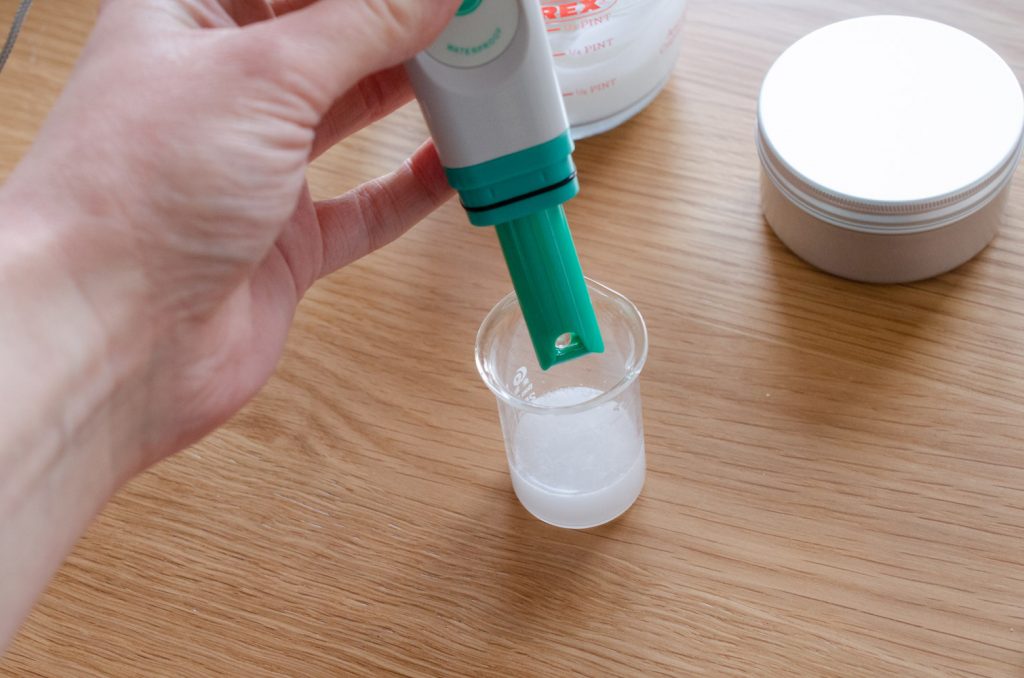
- pH meter or pH strips. You don’t have to do this, but since we’re working at very low pH levels it’s probably best to check your formula is still within working range for your preservative.
Sterilising your equipment
The containers I’m using don’t need sterilising, but all the equipment does. After washing with warm soapy water, use boiling water or a 70% isopropyl alcohol to mist all over the equipment from a spray bottle. Leave it to air dry completely before use or wipe with a lint free cloth.
The formula
Let’s put it all together.
Makes 100g of luscious foot cream! Just use grams for percentages in this easy to read formula.
Ingredients
Water phase
| Distilled water | 39.8% |
| Glycerin | 3% |
| Xanthan gum | 0.2% |
Oil phase
| Sweet almond oil | 15% |
| OliveM1000 emulsifier | 4% |
| Cetyl alcohol | 1% |
Cool down phase
| Urea | 25% |
| Lactic acid | 10% |
| Saliguard PCG | 1.5% |
| Peppermint essential oil | 0.125% |
| Spearmint essential oil | 0.125% |
| Eucalyptus essential oil | 0.25% |
Method
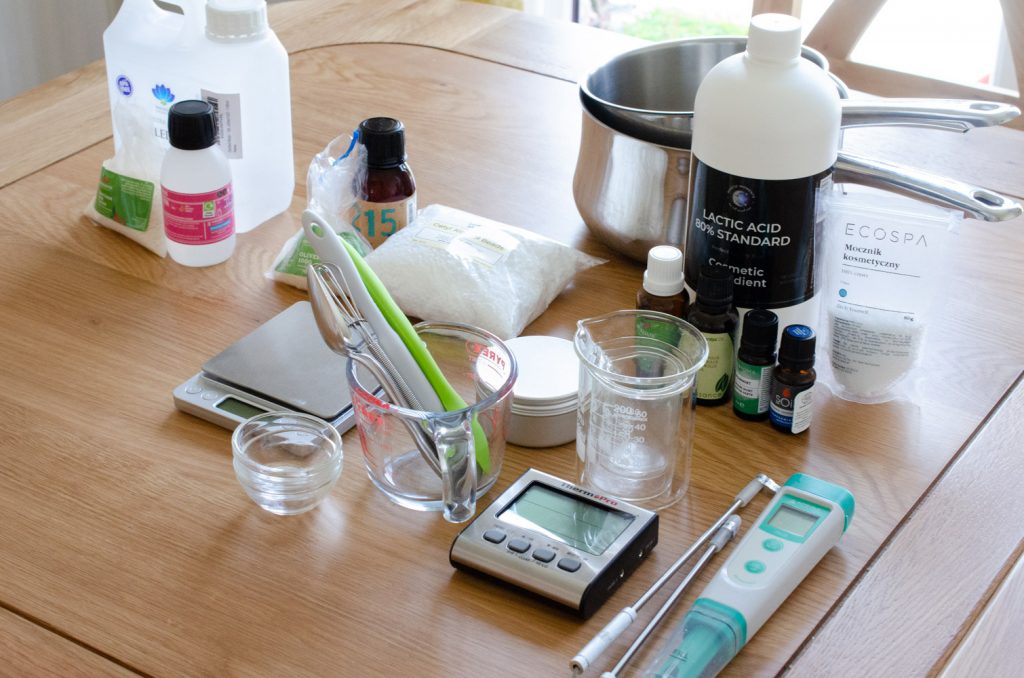
1. Assemble all your ingredients and equipment.
Prepare the urea
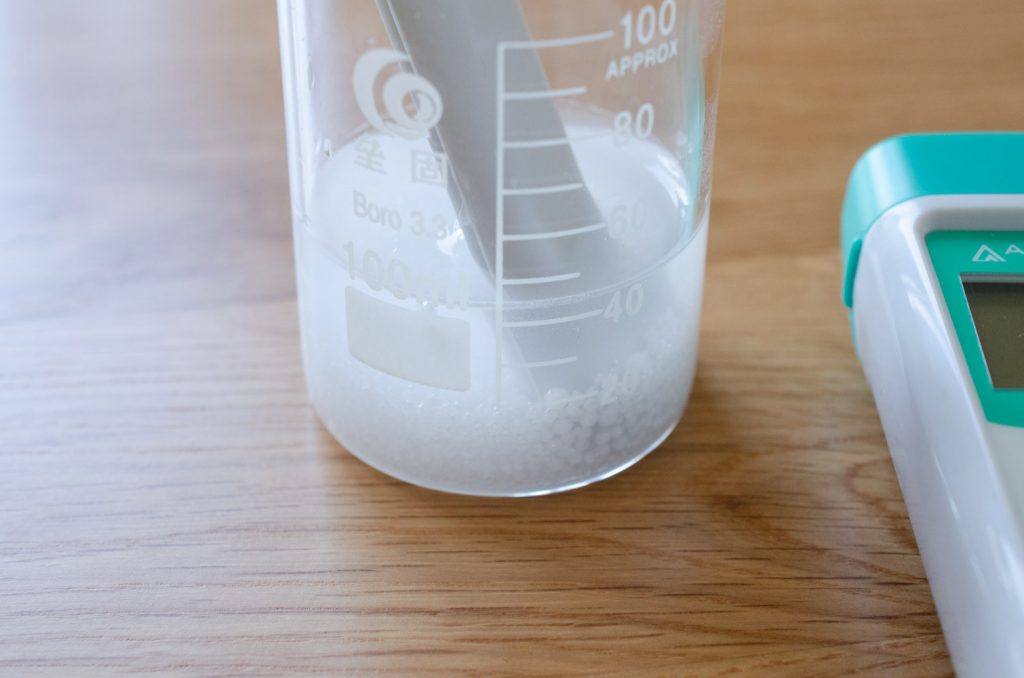
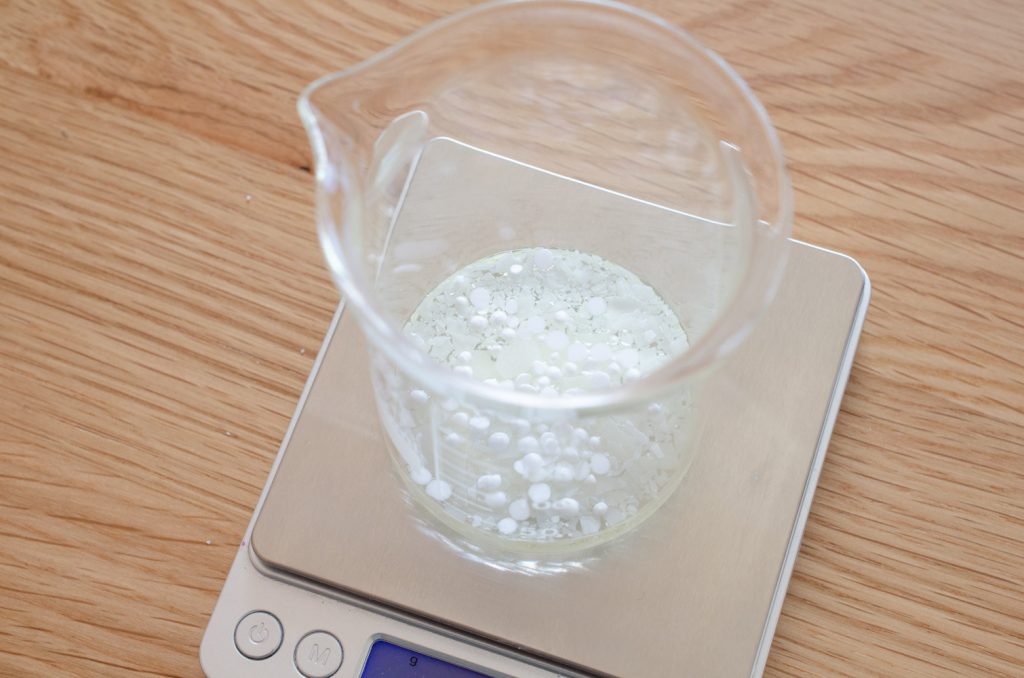
2. First, we’re going to dissolve the urea before we add it later at the cool down phase. In a bain-marie, heat 20% (20g) of the distilled water to boiling, then let it cool to 40c. Add the urea and let it sit to dissolve. Don’t stir it too quickly as we don’t want any bubbles.
Prepare the water phase
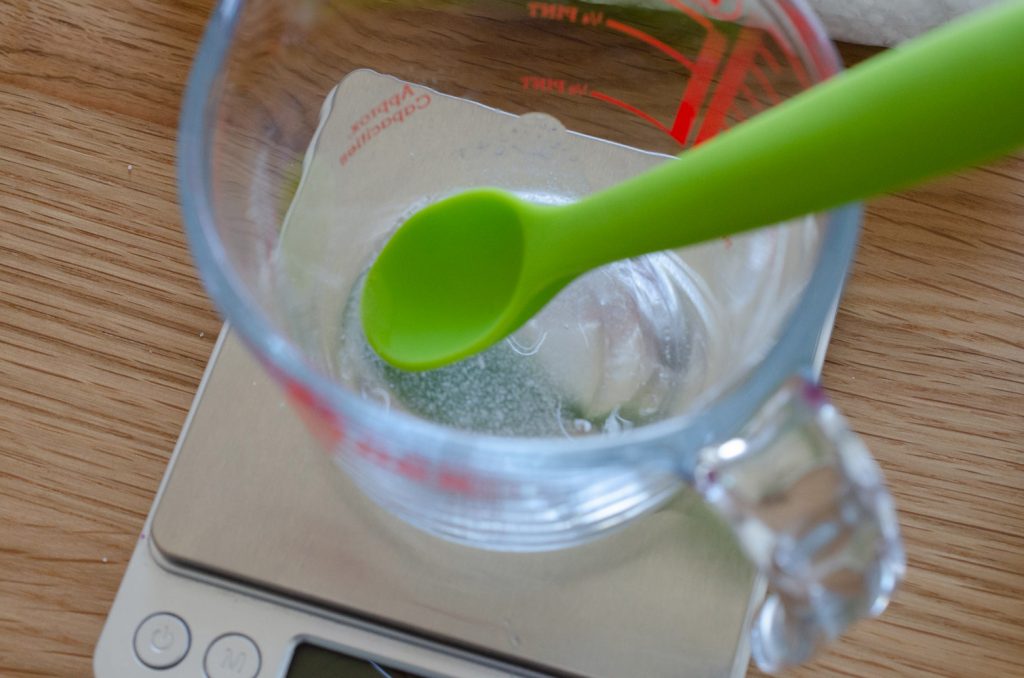
3. Make a slurry of glycerin and xanthan gum. Stir with a silicone spoon, and then set aside.
4. Measure out the remaining 19.8% distilled water, and then set aside.
Prepare the oil phase
5. Measure out all of the oil phase ingredients and set aside.
Prepare the cool down phase
6. Measure out the remaining cool down ingredients separately. You can combine the essential oils.
Heating
7. Heat the distilled water to boiling, then add it to the jug containing the glycerin and xanthan gum slurry. Mix well with a silicone spoon.
8. Now add the oil phase jug to the same bain-marie. Get both phases to 75c.

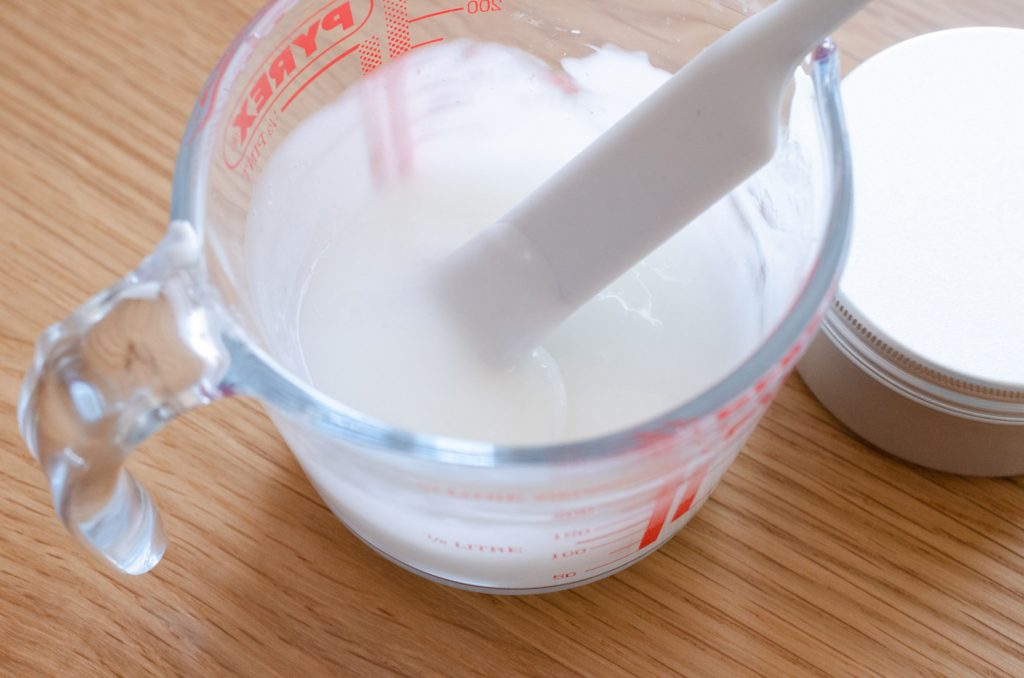
9. Once at temperature, add the water phase to the oil phase (since we have a small oil phase). Mix well with a mini whisk until the mixture is emulsified and smooth.
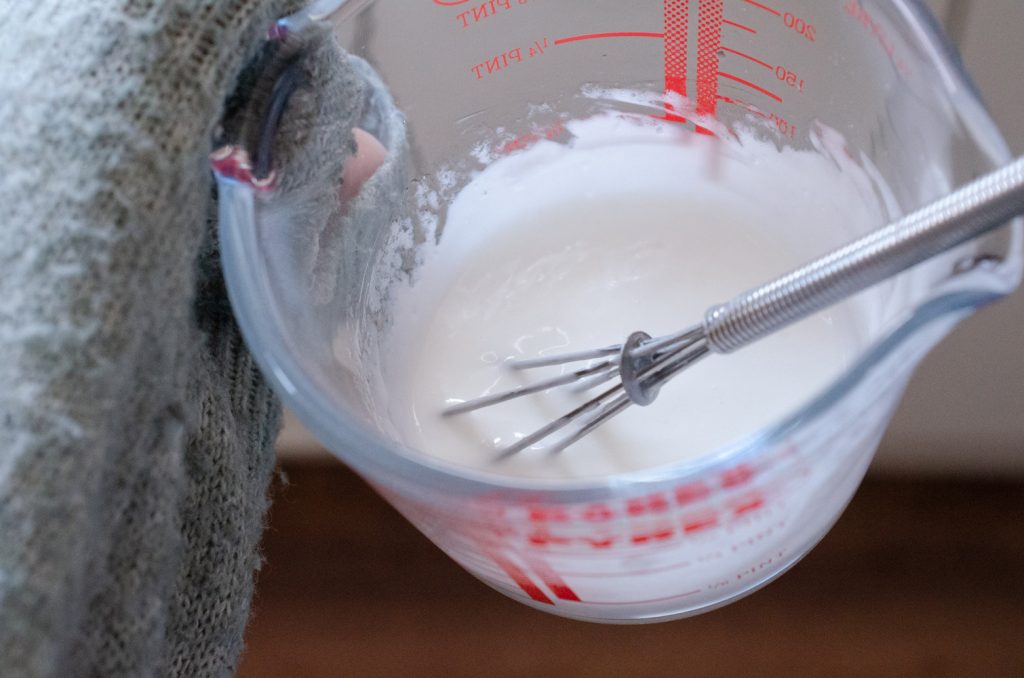
Cooling
10. Now transfer the emulsion to a cold water bath and continue gently whisking until the mixture reaches cool down temperature 40c.
11. In the cool down phase, first add the urea. Don’t worry if there a few crystals undissolved – they will dissolve by the end of cool down.

12. Add the lactic acid and mix well.
13. Add the essential oil mix then check pH. It should be around 3. If it’s not you will need to raise it using something alkaline.
14. Add the preservative and mix well.
15. Pour into your chosen container.
Final thoughts on my Urea & Lactic Acid Foot Cream
I hope you’ve enjoyed following through with me to create this super effective urea and lactic acid foot cream. I’d absolutely love it if you’d let me know if you make it, and how you get on.
Let me know if you have any questions, and I look forward to hearing from you in the comments.
To stay in touch with me and my blog, why not follow me on Instagram and subscribe to receive updates?
Happy formulating!


Comments are closed.